Using the cash register
Introduction to the cash register
The selling process
Operations on positive and negative balances
Special actions
The ExtraClub cash register
Adding special products
Adding a product on the ticket
Adding a product by navigating on the tree structure of products
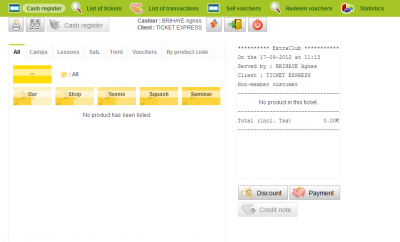
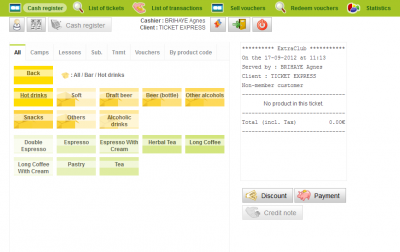
On the left part of the screen, you can navigate in the tree structure of the categories and sub-categories in order to find products to add to the ticket.
The categories and subcategories appear in orange. The products that are available appear in green. You can go back to the previous category by clicking on the “Back” button. It is possible for you to know exactly where you are in the structure of the categories: the path is specified next to the “Back” button. In the example shown above, we are in the “Bar” category, and in the “Hot drinks” sub-category. You only need to click on a product (in green) to select it. Products are added to the ticket one after the other.
Adding a product using the "Product code" tab
The “Product code” tab allows you to add a product on the ticket by typing its code as you have entered it in the management of products.
Adding a product using a hand-held scanner
If you have hand-held scanners reading bar codes (provided you have also entered your products' bar codes on your products' details), you can use the scanner to scan a product to add it to the ticket.
Editing the number of products or removing a product from the ticket
To remove a product from the ticket or to edit the quantity, you only need to click on the line where the product appears. As the mouse hovers the line, it changes color and you can click on it. Click here for more information.
Opening the "Discount" screen
To grant a discount, you need to have the required authorizations. If you can't see the Discount button, ask your manager. If you can see it, click on “Discount” and read the "Discount" page for more information.
Opening the "Payment" screen
Once you are done adding products to the ticket or when the client wants to pay (the whole or just part of it), click on "Payment" to cash the money.

